EDBE 8Y08 Post No. 4 // Home Section to Home Decor
Hello friends!
Welcome to week five of my genius hour journey! If you've been following along week by week, you're probably anticipating the 'home decor item' result of this week's DIY project. But in the all to likely instance your Netflix series was playing in the background while reading my last post, took an unexpected turn, and caught your attention - I'll recap what you *should* have been anticipating.
So, Let's get to it!
Week five of my GH journey marks the week I was tackling the task of thrifting a trinket, home decor item, or something of the stationary decor nature, and transform it into a modern home decor item I would proudly display in my apartment. After scrolling through Pinterest and racking my brain for inspiration on where to begin this task, I took a break from it all and started scrolling on Instagram. One of the home design bloggers I followed had just posted a photo, and that's when it clicked! I went to her account and scrolled back in time until I found the post I had remembered from the summer - the perfect inspiration!
Follow the link below link to see the photo that sparked my inspiration, and check out more posts from one of my favourite bloggers, 'The Heart and Haven' on Instagram!
Click me! https://www.instagram.com/p/B0ey1j6B1-D/?utm_source=ig_web_copy_link
So, without further ado, this week's GH DIY project is...
Decorative vases!
Okay, yeah, I know what you're thinking: 'well that was underwhelming'. I will admit, it sounded a lot more epic in my head, but let me tell you, the transformation will make up for it!
So off to the thrift store I went! I wasn't sure how easily I would find the type of jars/vases I was looking for, but to my surprise, I found them super easily! Turns out, this 'vase' I was looking for is a common kitchen jar used to hold things like cookies or pasta - or whatever else adult people put in their fancy glass storage jars. Anyways, because of this, I was able to find three jars of different sizes quickly and easily! Hooray!
Decorator's Tip!
When displaying things such as decor or other decorative household items, it is best to present them in sets of odd numbers, such as one, three, five etc. to achieve an 'effortless' look. For example, I achieved a balanced, 'meant to be there' look by hanging three baskets in a semi-abstract pattern in my apartment. I learned this trick from my mum and mother in love, both of which are super talented at decorating (note: a mother in love is a mother in law, just with a cuter, fancier name to make it sound less law-ish) - so, sorry to my professor, there is no way to cite this information.
Check out the photo below to see how I used this technique in my home!
Anyways, back to the DIY! How did I know what to do you ask? Well, I followed the step-by-step DIY posted to the blogger's highlight reel on instagram! Follow the link below to visit The Heart and Haven's Instagram profile, and select the highlight titled 'DIY'.
Click me! https://www.instagram.com/theheartandhaven/
The first step was to tape the top of the jars off using news paper, leaving the desired amount exposed at the bottom. Honestly, this was probably the hardest part of the DIY because you want to be sure that the tape goes around the jar evenly, to create a straight line all the way around the jar. After this is completed, you are free to spray paint the bottom of the jars any colour you desire! My inspiration photo had white bottoms, but I decided to go with black to create more of a contrast when displayed in my home. My apartment has a lot of light colours in it - like our heather grey sectional, and white walls - thus, painting the bottoms black would make more of a notable statement. Just like the DIY highlight video, I used matte paint. This is totally preference, but I believe that matte is more of a modern, subtle, chic option, as opposed to glossy, which gives more glam vibes. I was not able to find three different heights of vases, so just like in the video, I chose to paint the bottoms three different heights, to give the illusion that the vases are different!
After the vases were nearly dry, I peeled the tape off and let them finish drying the remainder of the time in a covered area out of the sun. I chose to remove the tape before they were completely dry to avoid potential chipping that is more likely to happen once the paint is totally dry.
And just like that the DIY was complete! The only thing left to do was style them - my favourite part!! The vases I used were much smaller than the ones The Heart and Haven used, and I did not have the multitude of flowers she had. Additionally, I wanted to fill the vases with something a little more permanent than flowers so I'm not constantly changing them. So, instead of flowers, I put my own twist on the DIY and used left over candles from my wedding in the vases instead. I chose to set the set of three vases on our coffee table (which is also another DIY I did over the summer) and...
I LOVE HOW IT LOOKS!


And, well, that's it! Finally I had a DIY go smoothly with no bumps in the road - what a relief!
Check back next week to see if I am successful in thrifting, and transforming a piece of furniture!
See ya,
- JD
Welcome to week five of my genius hour journey! If you've been following along week by week, you're probably anticipating the 'home decor item' result of this week's DIY project. But in the all to likely instance your Netflix series was playing in the background while reading my last post, took an unexpected turn, and caught your attention - I'll recap what you *should* have been anticipating.
So, Let's get to it!
Week five of my GH journey marks the week I was tackling the task of thrifting a trinket, home decor item, or something of the stationary decor nature, and transform it into a modern home decor item I would proudly display in my apartment. After scrolling through Pinterest and racking my brain for inspiration on where to begin this task, I took a break from it all and started scrolling on Instagram. One of the home design bloggers I followed had just posted a photo, and that's when it clicked! I went to her account and scrolled back in time until I found the post I had remembered from the summer - the perfect inspiration!
Follow the link below link to see the photo that sparked my inspiration, and check out more posts from one of my favourite bloggers, 'The Heart and Haven' on Instagram!
Click me! https://www.instagram.com/p/B0ey1j6B1-D/?utm_source=ig_web_copy_link
So, without further ado, this week's GH DIY project is...
Decorative vases!
 |
| The jars I found at the thrift store! |
So off to the thrift store I went! I wasn't sure how easily I would find the type of jars/vases I was looking for, but to my surprise, I found them super easily! Turns out, this 'vase' I was looking for is a common kitchen jar used to hold things like cookies or pasta - or whatever else adult people put in their fancy glass storage jars. Anyways, because of this, I was able to find three jars of different sizes quickly and easily! Hooray!
Decorator's Tip!
When displaying things such as decor or other decorative household items, it is best to present them in sets of odd numbers, such as one, three, five etc. to achieve an 'effortless' look. For example, I achieved a balanced, 'meant to be there' look by hanging three baskets in a semi-abstract pattern in my apartment. I learned this trick from my mum and mother in love, both of which are super talented at decorating (note: a mother in love is a mother in law, just with a cuter, fancier name to make it sound less law-ish) - so, sorry to my professor, there is no way to cite this information.
Check out the photo below to see how I used this technique in my home!
 |
| Note the wall arrangement and how it is grouped in three, achieving an effortless 'meant to be there' look. |
Click me! https://www.instagram.com/theheartandhaven/
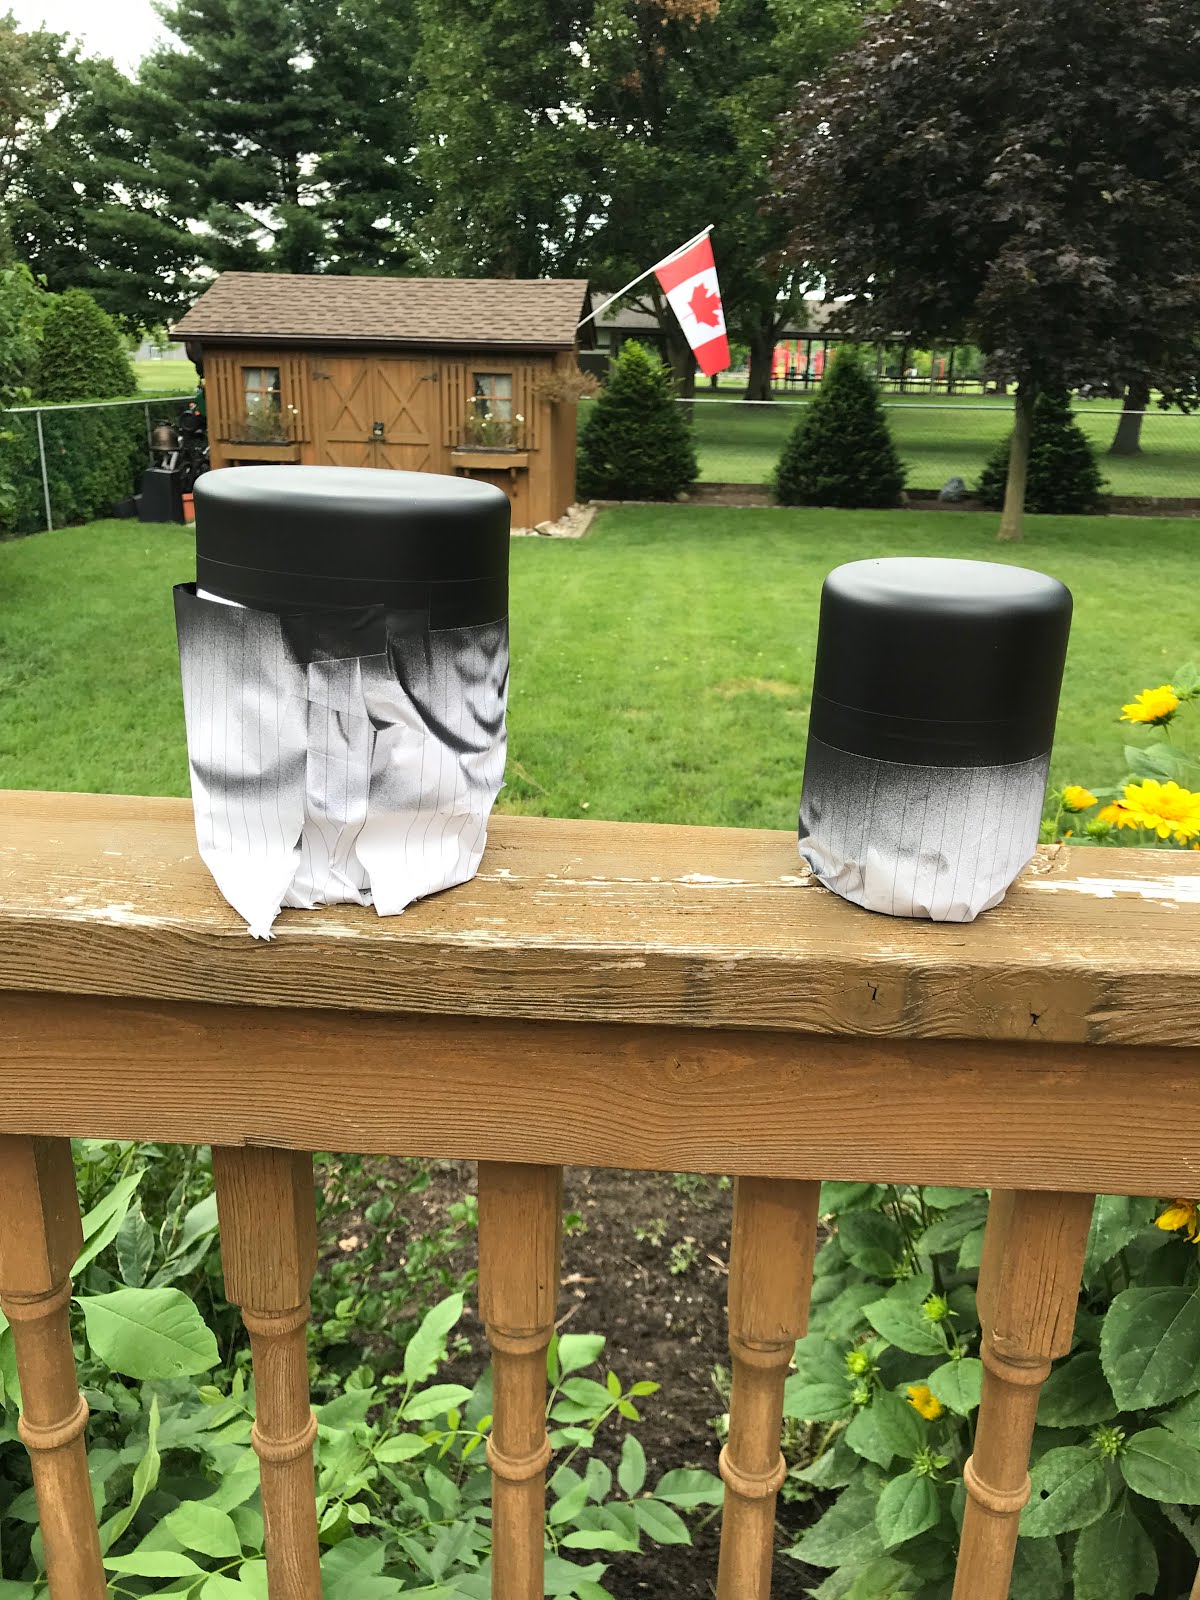 |
| The vases drying after being taped, and spray painted. |
After the vases were nearly dry, I peeled the tape off and let them finish drying the remainder of the time in a covered area out of the sun. I chose to remove the tape before they were completely dry to avoid potential chipping that is more likely to happen once the paint is totally dry.
And just like that the DIY was complete! The only thing left to do was style them - my favourite part!! The vases I used were much smaller than the ones The Heart and Haven used, and I did not have the multitude of flowers she had. Additionally, I wanted to fill the vases with something a little more permanent than flowers so I'm not constantly changing them. So, instead of flowers, I put my own twist on the DIY and used left over candles from my wedding in the vases instead. I chose to set the set of three vases on our coffee table (which is also another DIY I did over the summer) and...
I LOVE HOW IT LOOKS!


And, well, that's it! Finally I had a DIY go smoothly with no bumps in the road - what a relief!
Check back next week to see if I am successful in thrifting, and transforming a piece of furniture!
See ya,
- JD
Comments
Post a Comment